Showing posts with label Woven Background Stamp. Show all posts

Sunday, July 9, 2023

Hello Bluebird Stamps - July Release - Bloomin Happy


It's Day Two of Previews for tomorrow's release by Hello Bluebird Stamps.  The release goes live 7/10 at 7pm MST.   Here's what I've used in the making of this new card:-

Bloomin Happy
Bloomin Happy Die
Just For You Words Die

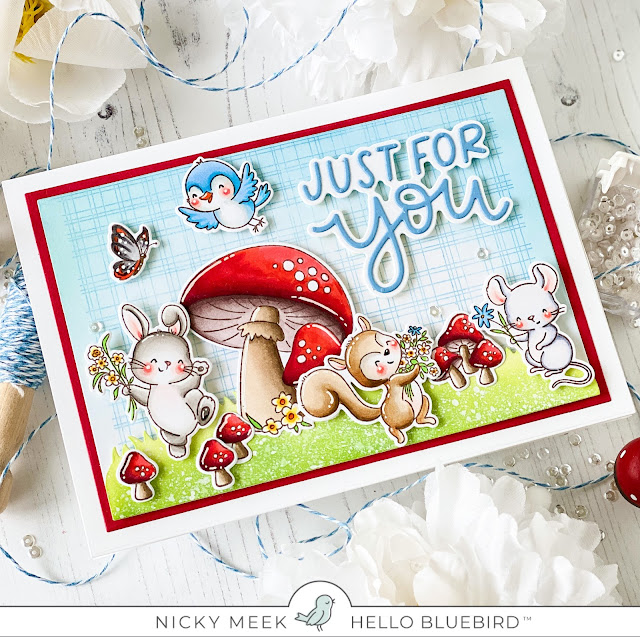
I prepared a full A7 white panel of cardstock.  I added a smaller red panel using the Nesting A7 die set and then created one more smaller white panel which I stamped with the Woven Background Stamp and after stamping I ink blended around the edges  to create a soft focal point.  All the panels were glued together and to the card base.  I created another panel in the feature panel size and used the Grassy Knoll die to create some grass to ground everything on.  I ink blended here with Distress Oxide Inks in Twisted Citron and Mowed Lawn, I distressed with a spritzing of water and then I mixed water with white acrylic paint and spritzed again then applied to the background with dimensional tape.


I stamped the images from the adorable Bloomin Happy stamp set using Memento Ink in Rich Cocoa and I coloured with the following Copic marker combinations:-

Toadstools - R59, R39, R37, R08, R05, E77, E74, E71, E70, E44, E43, E42, E41
Bluebird - B02, B41, C0, C00, YR09, YR07
Butterfly - YR09, T6, T4, T2, T0
Bunny - W4, W3, W2, W0, W00
Squirrel - E44, E55, E42, E41, E40
Mouse - C3, C1, C0, C00
Blushes - R22, R20, R00, R000

I highlighted with a white gel pen then die cut and applied all the images to the background using either a single or double layer of dimensional foam tape.  This is a large and substantial feeling card, that's how I like to build them!

To finish I used the new Just For You Words Die, creating the background with white cardstock and the detail letter words on top in a blue cardstock toning nicely with the background.  Finally a few sparkling clear sequins take the eye around the card.

Come back tomorrow for another exciting reveal and set your alarm for 7pm Eastern tomorrow!  It is recommended to shop early!!!


Wednesday, February 1, 2023

Hello Bluebird Stamps - Valentines Challenge


Are you reading my blog today to learn how to  participate in the brand new Hello Bluebird Stamps design challenge for a chance to win a $50 gift certificate.   This challenge runs from today until 11.59pm MST on Valentine's Day with the winning entry (randomly selected) being announced on the Hello Bluebird Instagram on the 15th.  Please check out Hello Bluebird's Instagram and/or blog for entry rules.

My inspiration card uses the following Hello Bluebird products:-


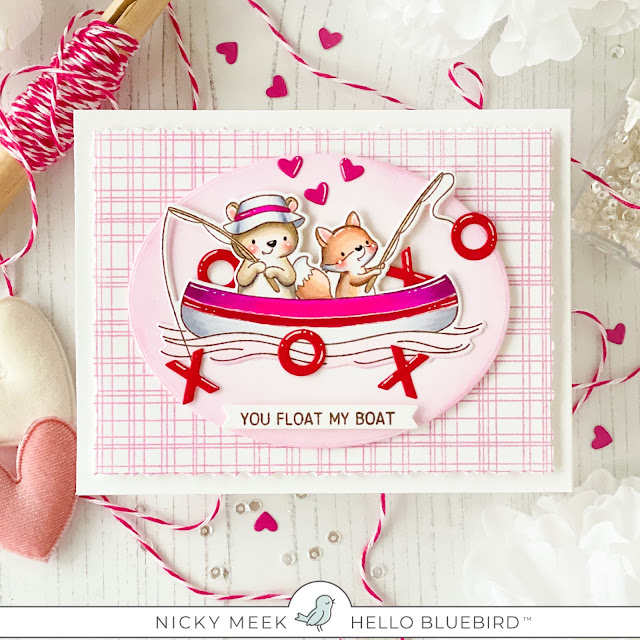
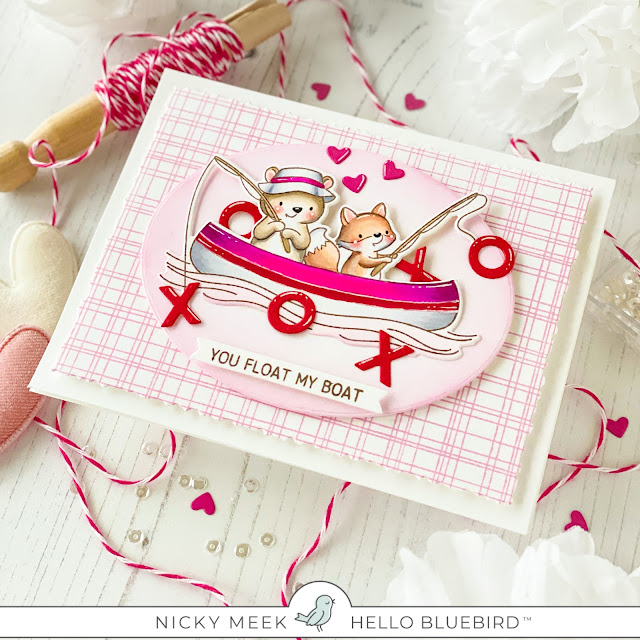
I started by stamping the background and then die cutting with the deckle die to give the edge interest.  This was backed with craft foam and applied to an A2 white panel then glued to the card base.

I then die cut a panel using the oval nesting die and ink blended in pink to create a soft focal point.   This was backed with foam tape and applied to the woven background.


I stamped the image I was wanting to use from Life Is But A Dream and coloured it with the following Copic markers:-

Bear - E42, E41, E40, E50
Fox - E13, E11, E21, E00
Blush - R21, R20, R00
Pink - RV17, RV06, RV04, C3, C1
Red - R39
White - C3, C1, C0

I used a white gel pen to highlight some spots then die cut and adhered to the oval.

I used Jane Small Alpha to die cut red cardstock to give me a few X's and O's and arranged them in the water, at the end of their fishing lines and tucked a couple in their sweet canoe and I stamped the sentiment on a sentiment strip and applied that too.  I also added a few die cut deep pink hearts above their heads.  Something slightly different for Valentine's Day.

Have fun with your own entry and remember it is a randomly selected winner and so your skill level is of no consequence!


Sunday, January 23, 2022

Hello Bluebird Stamps - Bouquet Buddies

Hello friends, I just wanted to briefly share a short blogpost that includes more images of this, my latest card for Hello Bluebird Stamps.


Hello Bluebird Stamps products used in this project:-

- Bouquet Buddies Stamp set and coordinating dies
- Thankful For You Word Die
- Woven Background Stamp


Background was stamped in pale pink ink for a barely there appearance.   The bouquet was stamped with Premium Dye Inks by The Stamp Market.   The puppy was stamped and coloured with Copic markers:-

W2, W1, W00, E42, E51, R00, R20

Sentiment was die cut several times and pieces were glued together and then to the scene.   All other elements applied with dimensional foam tape.   A few Nuvo drops completed the scene.


I appreciate you stopping by today, see you again soon!


Friday, June 11, 2021

Hello Bluebird Stamps - Rain or Shine

Hi!   Thanks for stopping by my blog today to read about my latest card for Hello Bluebird Stamps.   My card today features the Rain or Shine stamp set from the most recent release in combination with Jane Small Alpha and for the background I used the Woven Background Stamp.


To create my card I first prepared a 5 1/4 x 5 1/4 inch square white cardstock card base.   To this I attached a square of pink cardstock in the same proportions.

I stamped a panel of white cardstock with the Woven Background Stamp using Blush Ink by The Stamp Market.  I did this in my Misti to ensure I could repeat stamp for a nice evenly coloured image.   I trimmed down this panel to just a fraction under 5 inches square and attached it to a 5 inch square white panel.  I love the look of layered edges and it also makes the card feel like such high quality because it is so substantial when handled.


I used the Grassy Knoll die to die cut a panel of grass which I ink blended softly with Distress Oxide Ink in Tumbled Glass.  This was sized to match the 'Woven' panel then backed with foam tape and applied.

On Copic friendly cardstock I stamped my images from Rain or Shine using Memento Ink in Rich Cocoa.  I coloured my images with Copic marker, highlighted some points with a white gel pen then die cut using the coordinating dies and applied with either a single or double layer of dimensional foam tape to build depth.

Time for the sentiment!   I stamped the 'spread a little' from the Sparkles Script stamp set and then I used Jane Small Alpha to die cut the letters from SUNSHINE 5 times over!   Once from white, twice from pale blue and once from yellow cardstock and I adhered these letters in neat stacks, centred then aligned them on the Woven background and once happy I began to adhere them with glue.


To complete the card I just attached 3 sparkling clear sequins as subtle accents.   I didn't want them to look like rain so I tucked them partially obscured under some of the images.

Until the next time  - happy crafty time!