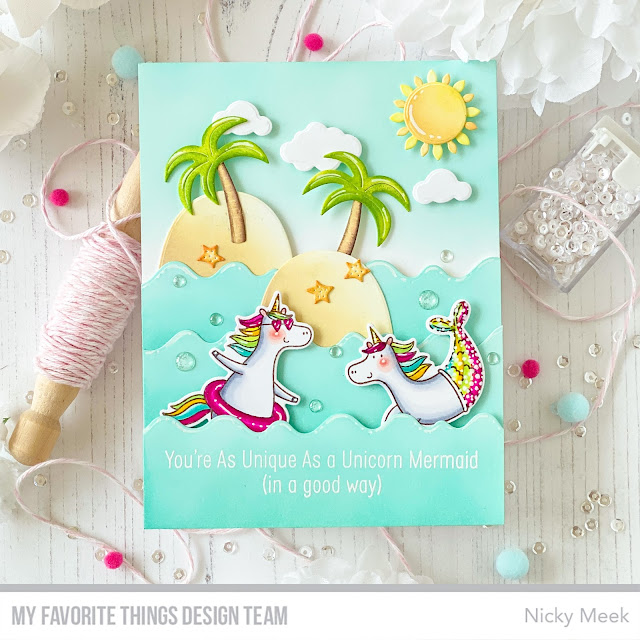
Here are the products I've used:-
One-of-a-Kind Friend
One-of-a-Kind Die-namics
Island Paradise Die-namics
I started the card by die cutting all the pieces of scenery I would be needing and also stamping and die cutting the featured images from One-of-a-Kind Friend. I then put all the pieces together and settled on a layout as shown in the image below.
Happy with the layout I then started to ink blend all of the different components. The sky and ocean were done using Salvaged Patina Distress Oxide Ink.
I keep reassembling the components as I go along, it helps me to choose colours wisely for the next stage.
The little mounded islands were blended with Antique Linen, the Starfish with Spiced Marmalade, Palm Fronds with Twisted Citron and Mowed Lawn, Palm Trunks with Antique Linen, Tea Dye and Ground Espresso and finally the Sun with Dried Marigold and Squeezed Lemonade. I used mini sponge daubers for the tiny or intricate parts like the palm fronds.
Nothing is glued down yet!
I then coloured the fun unicorn images from One-of-a-Kind friend with the following Copic marker combinations:-
Happy with everything, all that was left to do was highlight some points with a white gel pen and then I attached everything with either a single or double layer of dimensional foam tape. With a scene card like this I always start at the top and the back and then layer forwards. I like to build a lot of dimension with my scene cards, you can fit a lot more in that way and besides, they feel really substantial when they are handled by the recipient and that's a good thing! Before attaching the bottom portion of the ocean, I stamped the sentiment with Versamark Ink and heat embossed in white, then it was applied.
A few water droplet style embellishments completed the playful scene!
Hope you can squeeze in some crafting time soon and have a great day!
Nicky
Thank you for stopping by my blog today and don't forget to visit and subscribe to the MFT You Tube Channel for endless how-to videos, inspiration and product reveals.


No comments:
Post a Comment