Showing posts with label Blueprints 9. Show all posts

Wednesday, February 22, 2023

My Favorite Things - Wednesday Sketch Challenge - WSC634


Welcome to a new Wednesday Sketch Challenge for My Favorite Things.   You can find out out how to enter one MFT's challenges by visiting their site, read on for how I made my card to fit the sketch.

Products Used:-


To follow the sketch I first created an A2 panel with a stitched edge using Blueprints 25 and patterned paper.  I adhered this to a white panel to reinforce it then glued the whole thing to a card base.  Next task was die cut the large tag from Blueprints 9.  I did this twice, once so that I could ink blend a background and the the second so that I could die cut the scalloped top and bottom borders which are so pretty.  After ink blending the main tag I backed the scalloped pieces with foam tape and applied.  The tag was backed with white craft foam and applied to the patterned base.  Let's get that dimension going!


I stamped the images using Memento Ink in Rich Cocoa and coloured with the following Copic markers:-

Girl Skin - E33, E11, E21, E00
Girl Hair - E44, E42, E0000
Girl Clothes - B00, B000, B0000, T4, T3, T2, T0 and C3, C1, C00
Balloon - RV63, RV02, RV10
Box - E44, E43, E42, E41, E0000, B00, B000, B0000
Kitten - C3, C1, C0, C00
Blushes - R21, R20, R00, R000

I used my white gel pen to dot in interest to the background, polka dots to the blue ribbon and highlights on cheeks etc, then I die cut and applied with dimensional foam tape.

I popped the panel in my Misti and stamped the sentiment and then fed pink baker's twine through the top of the tag and pulled to a little knot finishing by snipping the ends.


Thank you for stopping by my blog today and don't forget to visit and subscribe to the MFT You Tube Channel for endless how-to videos, inspiration and product reveals.


Tuesday, January 31, 2023

My Favorite Things - Vault Release Day


The My Favorite Things Vault Release is now available for purchase!  Before you rush off to shop, please read the details for my card today which may help you choose what to treat yourself to.  Here's what I've used in this project:-

Joyful Plaid 6 x 6 Paper Pad
My Punny Valentine
My Punny Valentine Die-namics
Tall Love Die-namics

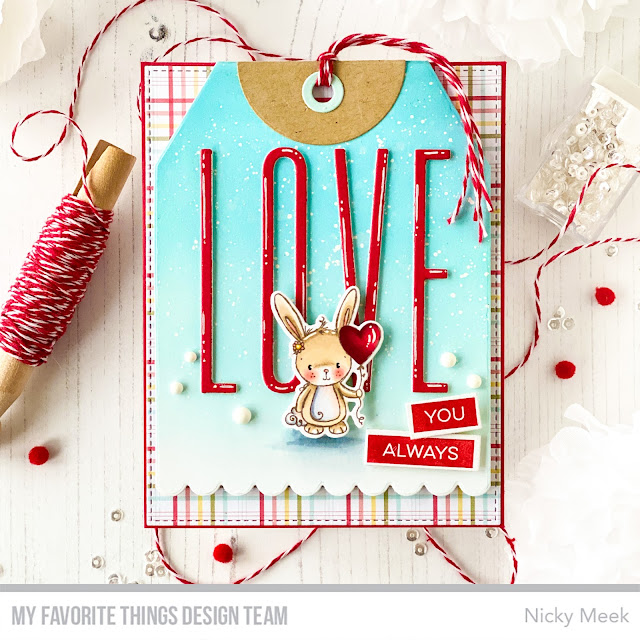
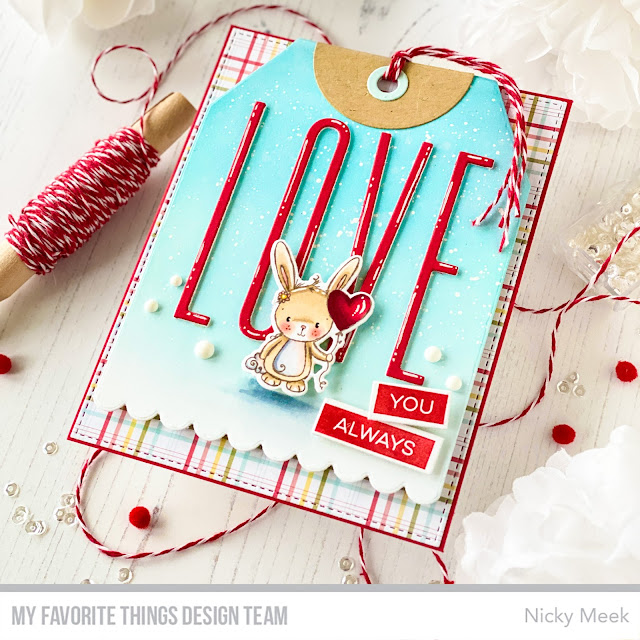
Ok .... so another great Blueprints die-namics set is out of the Vault and I LOVE Blueprints 9.   Basically it creates an oversized gift tag which is useful in it of itself but it also makes a novel backdrop for your card designs.

To create my card I created an A2 panel of patterned cardstock from which I pulled my colours I'd be using.  This panel was adhered to a ssslightly larger panel of red cardstock.  Still fits in an A2 envelope!

I die cut white cardstock using Blueprints 9 and ink blended in Tumbled Glass Distress Oxide Ink and distressed this with water and watered down white acrylic paint.   I used the scalloped edge die included in Blueprints 9 to give the tag a decorate edge.   Once ready I tied baker's twine through the tag then I backed the tag with white craft foam and glued it to the background panel.


I die cut the Tall Love letters from white then red cardstock several times, glued them in stacks and adhered them to the background.  I stamped and coloured the sweet bunny and coloured it with the following Copic markers:-

Bunny - E43, E42, E41, E40, C3, C1, C00
Blush - R21, R20, R00
Balloon - R89, R59, R39, R27

I highlighted some points with a white gel pen then die cut and applied with foam tape.

I used the 'C' Copics to add some shadow underneath the bunny.

I stamped the sentiments using the Label Maker and coordinating stamps and applied and I finished out the card by adding some white Nuvo drops.


Thank you for stopping by my blog today and don't forget to visit and subscribe to the MFT You Tube Channel for endless how-to videos, inspiration and product reveals.