Showing posts with label Background Stamps. Show all posts

Sunday, March 28, 2021

By The Sea Scenic Background Stamp - Hello Bluebird Stamps

Hello, welcome to my blog friends!  Today I've a new card for Hello Bluebird Stamps that features the new scenic background stamp called By The Sea.  I decided to pair this pretty background with the cuties from the Fly A Kite stamp set since there was such lovely movement in the sky.


To create the card the 6 x 6 inch image was stamped to an A2 panel of cardstock that is Copic friendly.  I used Copic markers to colour the entire scene and then I added texture and dots using Copics and gel pens and finally I added a little sparkling glitter to the ocean and into the sand.  I set this aside to dry.
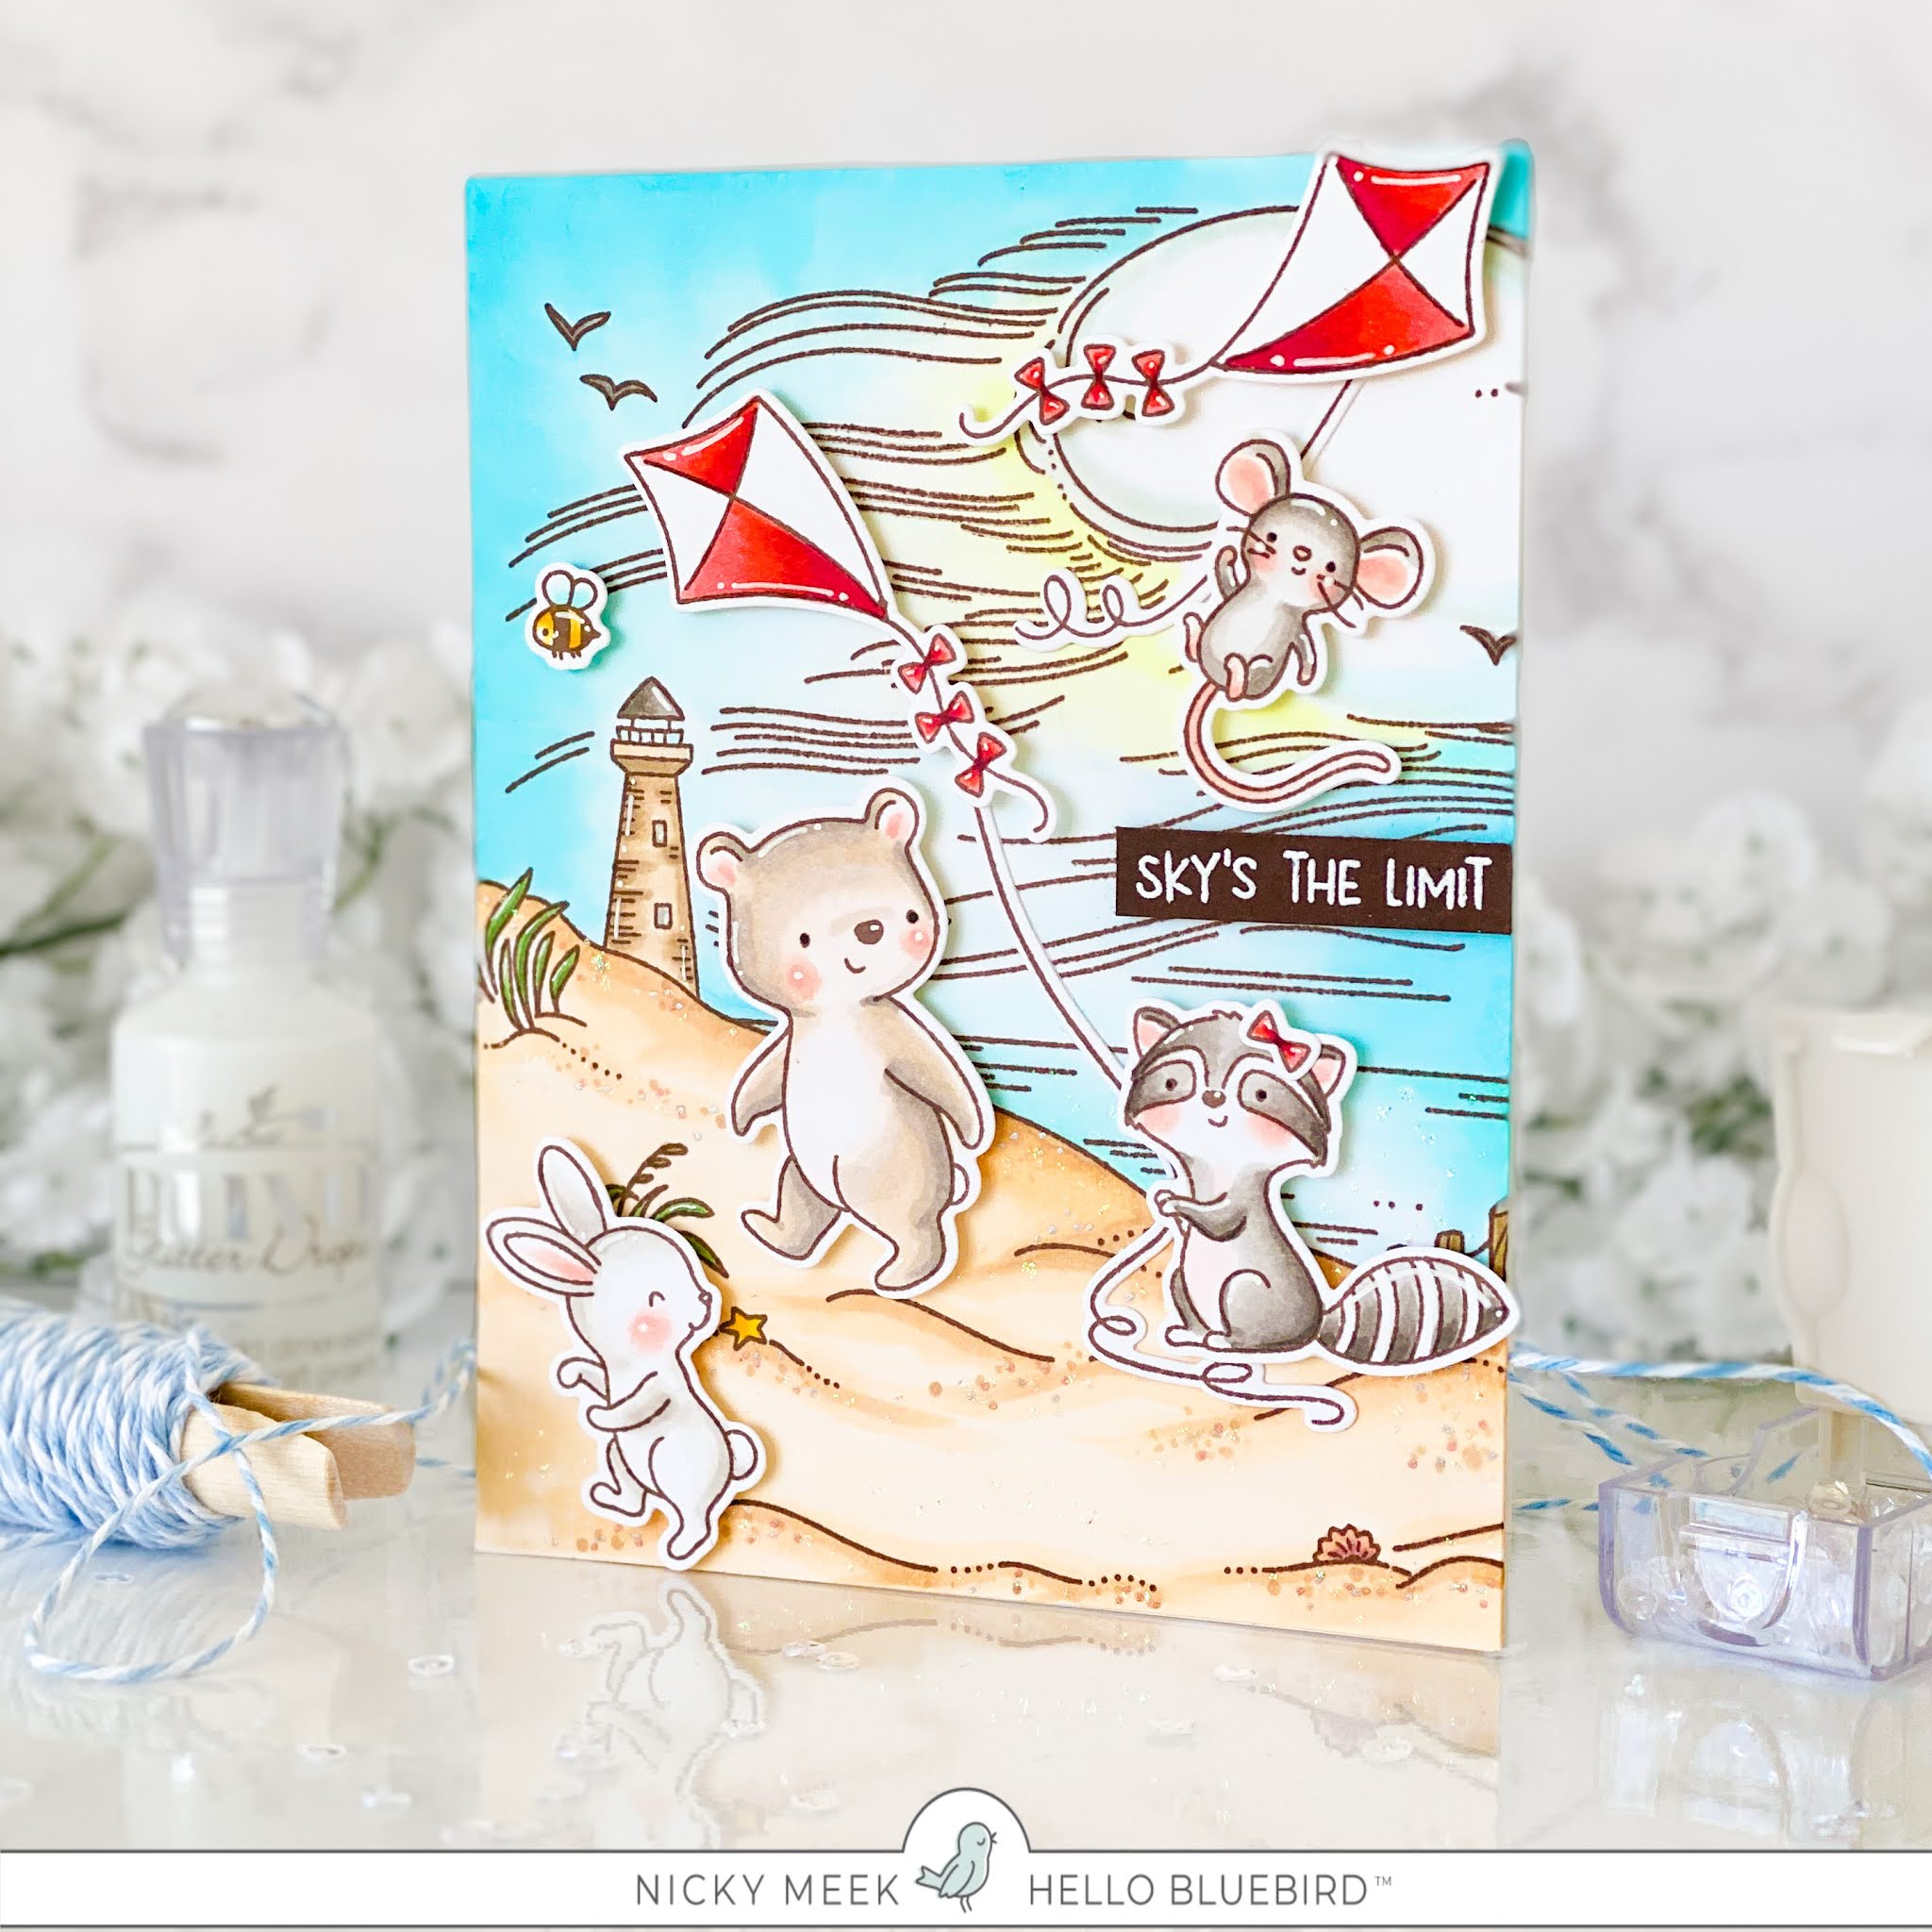

On more Copic cardstock the images were stamped from Fly A Kite.  Again, I coloured them with Copic markers softly and highlighted points with a white gel pen.  By now my background scene's glitter was dry and I set about applying the elements to the scene either directly with glue or for dimension with foam tape.


To finish up I stamped the sentiment on to brown cardstock using Versamark Ink and heat embossed in white, this strip was applied with foam tape.

The panel was applied to a nice and sturdy white cardstock base and was then complete.

Happy crafting!


Wednesday, March 24, 2021

Woven Background Stamp - Hello Bluebird Stamps

Day 2 of previews for the new Hello Bluebird Stamps release of 7 new background stamps and a re-release in clear stamp format of all of the previously release rubber background stamps.  Today, my card uses the new 'Woven' background stamp.  The release goes live at 7pm MST on March 25th.


I stamped the woven image on to an A2 panel of white cardstock in my Misti so that I could accurately repeat stamp it for even coverage.  I used the Grassy Knoll die to create the grass/land piece which I ink blended and dotted in some interest.   This piece was applied directly to the Woven background with glue but I didn't add glue near the top because I wanted to tuck the cloud from Besties and the flowers from Picked For You behind it.

I die cut the Gallery Frame #2 Die using just the outer portion for this card which I adhered backed with foam tape.


I coloured the squirrels from Long Distance together with the birds from Picked For You using Copic markers and applied with foam tape.


To finish up I made the sentiments.  The 'hello' is from the Hello Friend word die.  I die cut it 3 times from white cardstock and once more from purple and I glued these together and adhered to the card.  I also added 'my friend' underneath.

A few sparkling clear sequins completed the card.   I'll be back tomorrow with another card which is release day.  Until then happy crafting!


Tuesday, March 23, 2021

Country Roads Scenic Background Stamp - Hello Bluebird Stamps

Hello Bluebird has an exciting new release featuring all backgrounds stamps.  This release will be available to buy at 7pm MST on March 25th.  There will be 7 brand new ones in all but also, all the previously released rubber backgrounds stamps are going to re-released as clear stamps going forwards.


To create this card I stamped the 6 x 6 inch Country Roads Scenic Background Stamp image to an A2 panel of Copic friendly cardstock using Memento Ink in Rich Cocoa.  I coloured the background image using Copic markers and accented with coloured gel pens for the tufts of grass and suggestion of flowers in the fields.


I stamped my images from Easter Egg Hunt and also Copic coloured those.   They were die cut, backed with foam tape and applied to the scene.  Points were highlighted with a white gel pen.

For the sentiment, I used the the Charlie Alpha Die and changed happy to hoppy to be a little punny.  Each letter consists of 5 die cuts with each one being glued in a stack and then using a ruler to align the letters before committing to glueing them to the card.  Underneath I just used the word Easter also found in Easter Egg Hunt.


The card panel was adhered to a sturdy white cardstock base and with that it was finished!

I'll be back tomorrow with a brand new background from the release to share with you!  I hope you join me for that.  Happy crafting!


Monday, February 17, 2020

Background Stamp Release - Pinkfresh Studio


Hello and welcome to my blog if you haven't visited with me here before.  I'm delighted to be guesting once again for Pinkfresh Studio and this fun release of background stamps.  Leave a comment after you've read my post for a chance to win a $25 Pinkfresh Studio gift card.  Winners will be announced Monday, February 24th on Pinkfresh Studio's GIVEAWAY PAGE.  You must check this page and claim your prize within 2 weeks
This first card was heat embossed in white using the Diamond Tiles background stamp.  The floral arrangement was made using the Just Because stamp set and coordinating die.  Images were coloured with Copic markers and applied to the background with foam tape and then the whole scene was splashed with white acrylic paint.   The large die-cut sentiments are from the Phrase Building: Sending set.


In this second card I used the same Diamond Tiles Background stamp but in a much more subtle way.  The card was created by ink blending with Twisted Citron Distress Oxide Ink, I blended it deeper at the edges and lighter towards the centre to form a focal point.  I then stamped and heat embossed again using white embossing powder.  I die cut the Foliage Frame twice from two pieces of cardstock.  I kept one as it was and with the second one I used Copic markers to colour up the leaves simply.  I flipped the coloured frame so that it didn't line up with the white frame and adhered everything down to the background panel.  The sentiment is from Leafy Decor and applied with foam tape and a few jewel accents finish out the card.


My third card features the new Floral Diamond background stamp which I've stamped in a vibrant pink.  Layered on top you see the Leafy Decor stamp that comes with a coordinating die. Images were coloured with Copic markers, die cut and backed with foam tape.  On top of that the word 'Hugs' is again from Phrase Builder : Sending die set.


Couldn't wait to get creating with the next background called Lemon Lush.  For this mouthwatering card I stamped the background image using Versamark Ink on to Strathmore Bristol Smooth cardstock and heat embossed in white.  I watercolour painted using Kuretake Zigs.  I then die cut the Sentiment Suite : Happy Birthday three times from white cardstock and once more from a vibrant pink foil affect paper.  They were adhered together in a stack and applied.


I had so much fun creating these cards which are so different for me.  I hope you treat yourself to some background stamps and play with the endless creative possibilities they provide.

Thank you for hopping along to my blog, please use the link below to hop along to the next designer for further inspiration.  Happy crafting!  Nicky x

You are invited to the Inlinkz link party!