Wednesday, June 27, 2018

Dandelion Wishes - Two New Cards

Hello!  My blog is a busy place today with new cards ready for both Avery Elle and Mama Elephant.   This post is for Dandelion Wishes by Mama Elephant, you might remember my 3D pop up box card from a couple of weeks ago which also used Dandelion Wishes.  No box cards today but two classically pretty cards that are relatively easy to make.


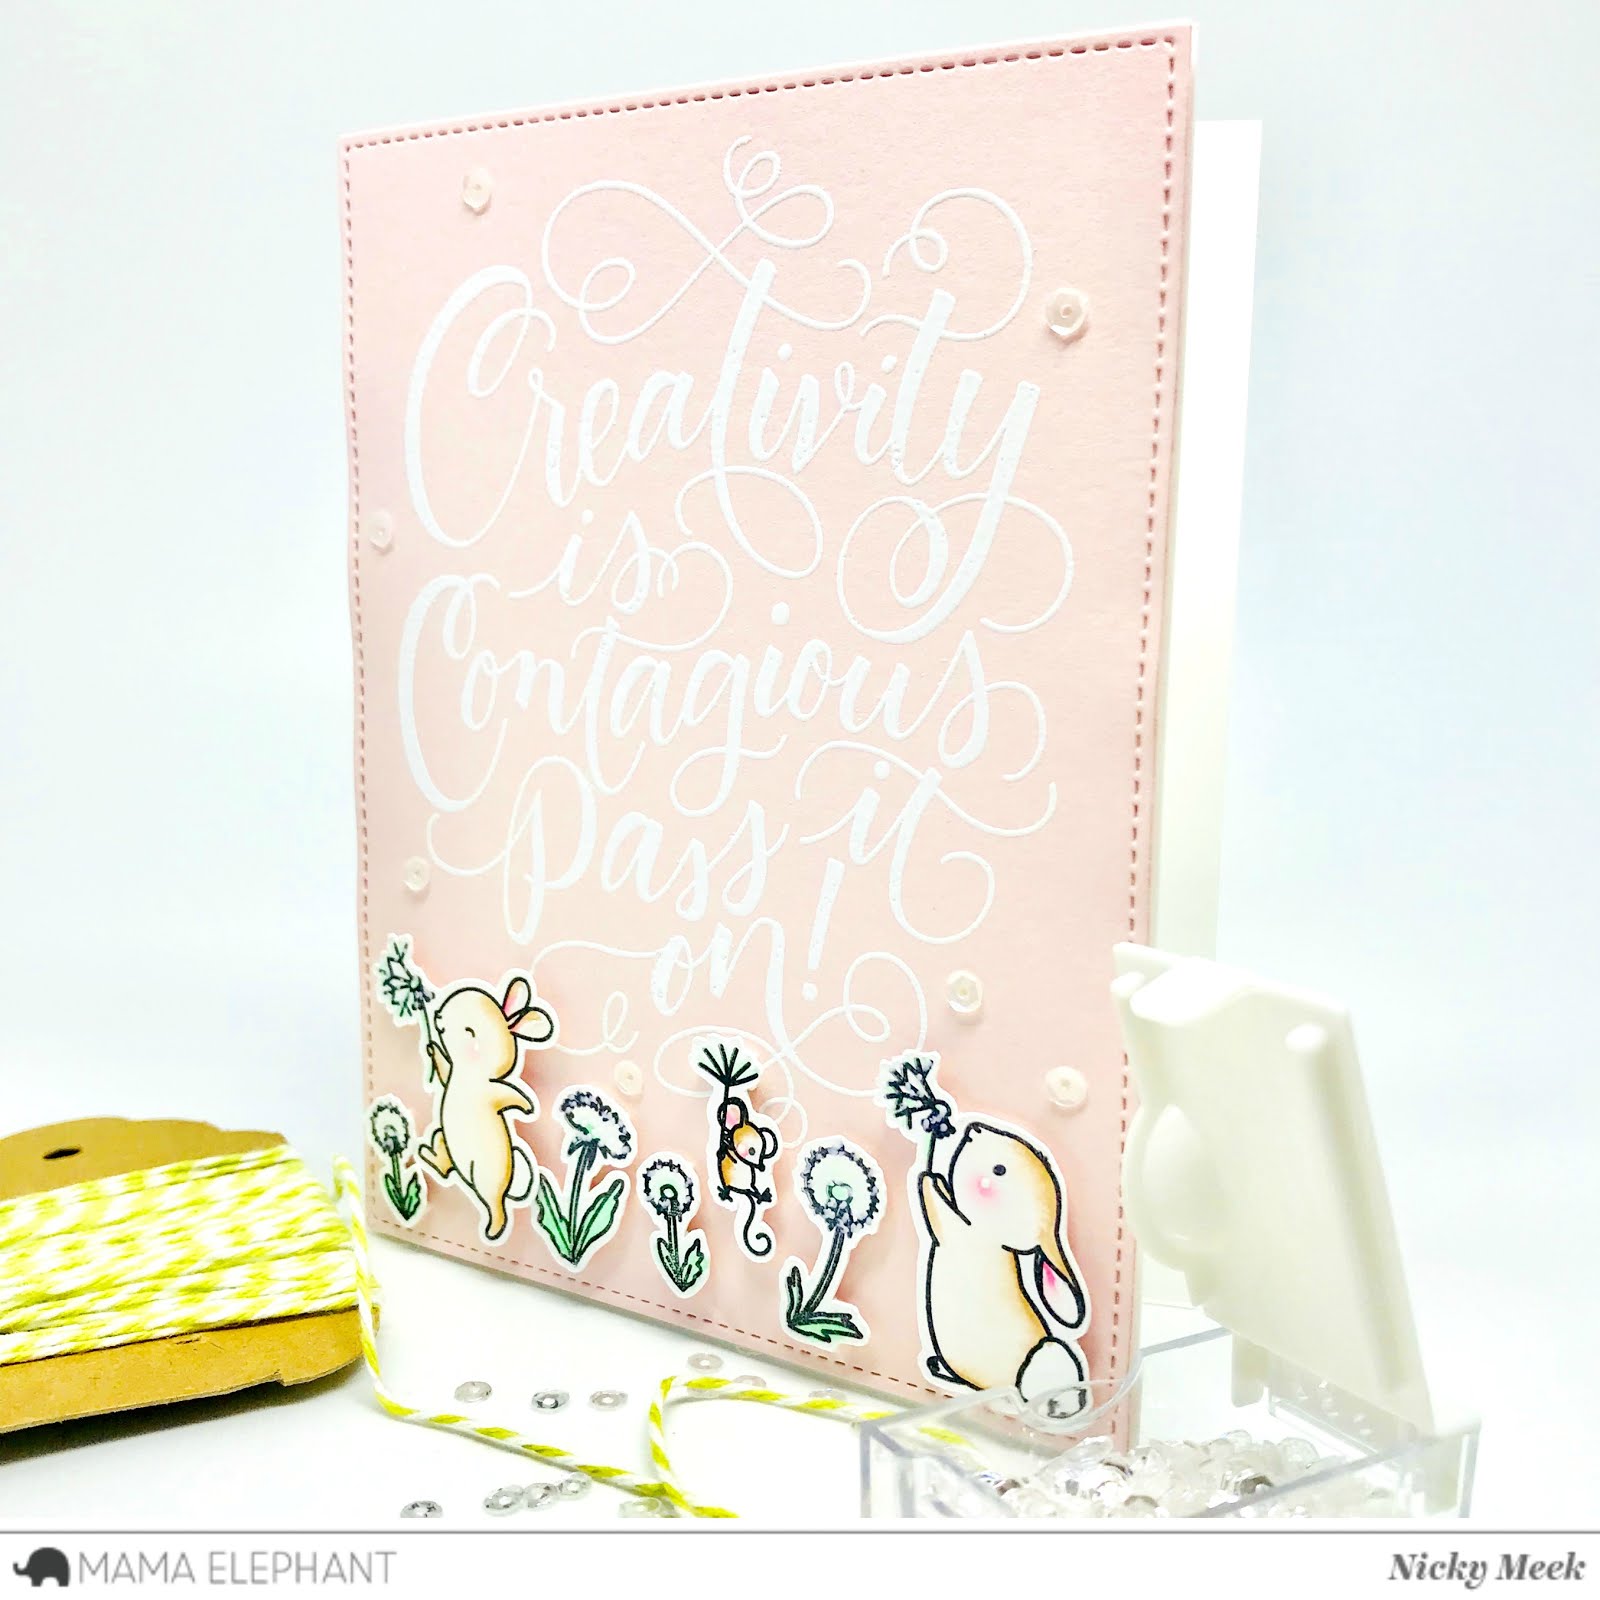
This first card features a hand stamped gingham background which is from Hello Bluebird Stamps.  I then aged the edge by ink blending with Antique Linen Distress Ink and die cut the panel with the wonky stitched edge by Mama Elephant.  I already had this white square frame die pre-cut from a previous project and I applied it popped up on foam tape.  On Bristol Smooth cardstock I hand stamped all of my images with Ranger Archival Ink in Jet Black and watercolour painted them using Kuretake Zigs.  Colours used are Gray 090, Oatmeal 064, Pale Pink 028, Yellow Green 053, and Lemon Yellow 051.  They were die cut and then I just built the scene that you see here by means of layering and building depth using different amounts of Scotch foam tape.  The sentiment was stamped on a little strip of cardstock and also applied with foam tape.  The final touch was the addition of a few pearly white sequin accents.


For my second card I chose the same basic idea but gave it a slightly different look - less antiqued if you will!


I stamped a panel with a cozy plaid background stamp by Hello Bluebird using Simon Says Stamp Premium Dye Ink in Lake Shores.  I used another white frame die cut I had to hand and applied it with foam tape.  I stamped the sentiment and added it below.  When I stamped and watercolour painted my images for the last card I made enough extra images to complete this second one and so all of these components were painted with the exact same colours as listed above.  Once again I set about to arrange a dimensional scene with foam tape that was pleasing to my eye and finished this card off with some pretty sparkling clear flower sequins from Pretty Pink Posh for a little twinkle.


When you have stamp sets with lots of little images I find this basic layout a really good 'go to' design.

I hope you're inspired ... go forth and craft!

Nicky x

Deer Friend Shaker Card


Hello everybody, I'm both here and on the Hello Bluebird blog today with this Shaker Card using Deer Friend.


This card started with a panel of cardstock that was softly ink blended with green, pink and blue Distress Inks.  Next I constructed the shaker unit by taking an A2 panel of white cardstock and die cutting it using the Gallery Frame Die #1 from Hello Bluebird.  I lined this die cut with acetate and then applied a double layer of Scotch Foam Tape so there was plenty of space for the shaker contents to move around.   I powdered the edges of the foam tape to keep the seed beads and sequins moving around.  I put on my mixologist's hat when I made the mix that worked with the background.  With the the mix in the upturned window I sealed the back of the unit with the ink blended panel and applied it all to the card base which is a sturdy 110lb Neenah solar white.


I stamped the sentiment on the top of the frame and then grabbed some more Bristol Smooth cardstock and stamped out my images using Ranger Archival Ink in Jet Black.   I watercolour painted everything using Kuretake Zigs and a waterbrush pen then die cut each image.


Each image was adhered to the shaker window either with tape runner tape and some other areas with little pieces of foam tape to add a little further dimension.


If you haven't tackled a shaker card before I encourage you to push yourself to do so, they are not difficult and they really take your card making to the next level and are sure to please the happy recipient!

Until the next time then ........

Nicky x

Monday, June 25, 2018

Sweetest!

Ice cream, you scream, we all scream for ice cream!  Here's 'Sweetest' from the Avery Elle Summer release as well as the coordinating dies.


I let my ice creams take centre stage for this card.  I kept the card background super simple and I just embossed using two of the border dies from Dotted Borders twice over to make a little background definition.  On smooth watercolour cardstock I very lightly stamped the images in distress ink then I watercolour painted them for a no-line affect.


Once painted I applied glue to certain points and dipped them into chunky glitter to pick up 'ice crystals'.  The orange/yellow/red ice pop had glue added to the top portion and it was dunked into micro-beads with the addition of more glue and chunky glitter on top of that!  These features were applied to the base with dimensional foam tape.  I felt the card needed no extra embellishment so I finished off by stamping the sentiment.


I thank you for stopping by today to see how this card was made .... I hope you 'lick' it!

Nicky x


Saturday, June 23, 2018

Hippos On Holiday - Hello Bluebird Stamps

Hello Friends!

Initially I wasn't going to blog about this card, especially as I was in such a creative flow this week (it's been very productive) but I got some enquiries on Instagram about it so I thought I'd share here a little more detail including products and colours used.


I think the impact of this card is in the colour combination, the rest is just scene building and layering.  So I took a panel of A2 Bristol Smooth cardstock (I favour Strathmore).  I ink blended it with Distress Oxide Ink in Spiced Marmalade and splashed it with water and blotted it dry a few seconds later.   I die cut the panel with the stitched edge and applied it to the card base.  With another panel of Bristol Smooth I die cut it to match the stitched edge and then die cut 3 'waves' from Avery Elle.  I casually ink blended these from dark to light using Distress Oxide in Peacock Feathers and splashed them up with some paint splashes using  Peacock Feathers mixed with a little water.  Once dry I dotted in some Uniball Signo White gel pen.


I adhered my 3 wave die cuts to the card panel making sure to keep the tops of the waves glue free in order to tuck my hippos in later.  I took yet more Bristol Smooth cardstock and stamped up my images using Ranger Archival Ink in Jet Black.  I watercolour painted them using my Kuretake Zigs.  The hippos and the gray points on the seagulls are done using Blue Gray 092.  Blushing cheeks and the pink on the beach balls courtesy of Light Pink 026.  The remaining 3 colours used are Yellow 050, Orange 070 and Light Blue 036.


I die cut all the characters etc and decided upon my layout and adhered everything with Scotch Foam Tape for dimension.  I selected my sentiment, stamped it with Archival Ink on to a little piece of scrap cardstock and once dry I took a blending tool with a little of the Spiced Marmalade Distress Oxide Ink on it and coloured it up so that it blended into the 'sky'.  The sentiment strip was applied with foam tape.

To add sequins or not to add sequins THAT is the question?!  I decided not to but instead I grabbed a bottle of Stickles in 'Crystal' which reflects blues and greens and I did tiny dots of it throughout the water and into the whiter part of the 'sky'.  Doesn't photograph but it does give a sweet twinkle when the card is handled and it catches the light.

Another card complete!

Thanks for stopping by and I'll see you next time!

Nicky x

Thursday, June 21, 2018

Pig Day - Hello Bluebird

Hello friends!

Today I have another card to share with you using Pig Day by Hello Bluebird Stamps.  It is possible this is my favourite stamp set of all time, but I'm not fully ready to commit to that statement just yet!


I took two A2 panels of Bristol Smooth cardstock and blended one with pink Distress Oxide and added some water and paint splashes, this was then die cut with the faux stitched edge and set to one side.  The other A2 panel was die once with the same faux stitched edge then further cut 3 times to provide the grassy edge from the 'Grassy Knoll' die set from Hello Bluebird.  This left one additional negative die cut which I flipped upside down and all 4 were ink blended in Cracked Pistachio Distress Oxide Ink.


I layered up the grassy edges and adhered them but I made sure not to add adhesive near the top of each edge because I knew I'd be tucking my piglets behind tufts of grass.  I used a Uniball Signo White gel pen to add daisy dots into the grass.


I took yet more Bristol Smooth cardstock I stamped my Pig Time images with Ranger Archival Ink in Jet Black.  I watercolour painted them using Kuretake Zigs in Pale Pink 028 and Light Pink 026 (for their blushing cheeks and ears) and highlighted their cheeks using the Uniball Signo again.  The little birds were painted with Beige 072 and given a few white speckles.  The animals were all die cut and applied with Scotch foam tape and a pompom was added to the one piglet's party hat.  The sentiments were stamped onto black cardstock with Versamark Ink and heat embossed in Super Fine White Embossing Powder and applied with foam tape.  I then decided to add a couple of puffy white clouds from Rainbow Sky Die from Hello Bluebird just to balance out the scene.   I adhered the decorative panel to an A2 110lb white cardstock base and voila!  Card done!


I think it is safe to say this is FAR from the last Pig Time card I'll be creating and sharing!  Happy crafting everybody, please feel free to leave questions and comments, I'd love to hear from you.

Nicky x

Thursday, June 14, 2018

Garden Frame by Mama Elephant

Hello!

Introducing Garden Frame by Mama Elephant which forms part of the delightful goodies from their June release.  I have been happily Guest Designing for Mama Elephant last month and this.  Garden Frame is ever so pretty and whilst I haven't done a shaker card here, it does have an internal die so the frame can be entirely cut out or just the inside to make a shaker card.


For my card here, I've ink blended a dreamy background using 3 shades of Distress Inks.  I then die cut it give the faux stitched edge and layered that over a panel of toning pink cardstock which was in turn applied to the card base.


Next I stamped the image from Garden Frame with Versamark Ink and heat embossed it in Ultra Fine Silver Embossing Powder by Simon Says Stamp.   This was then applied to the blended panel with dimensional foam tape.

I wanted to keep this card super delicate and accented it with a few jewels by Pretty Pink Posh, including one in the centre of each of the two largest flowers.  This stamp set comes with some very useful sentiments and you can make very quick cards using it.


Final touch was to add random dots of silver gel pen into the ink blended background just to break it up a little and add very subtle twinkle (I can never resist).  Thank you for stopping by to read today, more coming soon!

Nicky x


Wednesday, June 13, 2018

Book Worms

Hello! This card is one of two that I've created using the new Book Worms stamp set by Mama Elephant who I am guest designing for both this and last month.


Here I've ink blended an A2 panel using Distress Inks in Tumbled Glass and Spun Sugar.  I then distressed it by splattering on some Tattered Angels 'paint' and instead of leaving them like splashes I decided to smudge each splash delicately with my finger which makes them look like flakes of gold leaf .... just not gold of course, more of a sparkling pearl.  Just something different for a change!


I die cut a white cardstock frame and adhered it with Scotch foam tape and then separately on Strathmore Bristol Smooth I stamped out my images with waterproof Archival Ink, I watercolour painted everything with my Kuretake Zigs and die cut everything out.  I decided on an arrangement and used more foam tape to adhere them into position.


This June release from Mama Elephant includes a 3D pop up box card die and included in the set are things like a cloud and this speech bubble.   I cut off the little tail that denotes that it is speech and used two little 'dots' that denote thinking.  The bunny appears to be looking over the top of his book toward his reading buddy the piglet who is absorbed into his book and given the sentiment I chose, he just loves piglet's company .... do you tell stories with your cards?  I just love that little puppy with his 'bad toupee' - cracks me up!


Because it is one of my cards it is practically law by now that I must add a finishing twinkle which I did here by using a few crystal clear sequins by Pretty Pink Posh.

Thanks for swinging by the blog, I hope you'll return for my next card!

Nicky x

Book Buddy - Bear & Dog - Mama Elephant

Hi everybody, thanks for coming by the blog today to look at Book Buddy - Bear & Dog by Mama Elephant which forms part of the new release available for purchase June 15th.  This post also features the new Bookmark It die and sentiments from Good Reads.


There are so many options for the Book Buddy which can be used alone as the cutest little page marker but here I made it in its simplest form and had it hang over the actual bookmark made with the Bookmark It die.  You could also make many of them and hang them over string for a bunting type affect to decorate a little girl's room - so cute!


I cut my Book Buddies from Bristol Smooth and I blushed their cheeks using Kuretake Zigs and highlighted with a Uniball Signo White Gel Pen.  Facial features were die cut from black cardstock and adhered.  I double die cut the bow layering one on top of the other, adhering directly in the centre and then in between underneath on each side I used a tiny piece of Kool Tak Clear Foam so that it was discretely dimensional.  I think the bow would also work as a bow tie!


The pretty embossed edge on the card is from Fine Trimmings which was part of a former release.  The Bookmark It die comes with several smaller dies which help you create very creative bookmarks which I hope to share with you in a future blogpost.

The sentiment is from the new sentiment set 'Good Reads' and it was stamped on more pink cardstock that I embossed with the same decorative edge and applied with foam tape.

Thanks for stopping by the blog today, I hope you feel like getting creative!

Nicky x

Book Worms by Mama Elephant

Hey All!  I am Guest Designing for Mama Elephant for a while and have some June new release goodies to share with you all.  Have you come by to see 'Book Worms'?  If you have then I reckon you are in for a treat!


I created a white card base from Neenah Solar White 110lb cardstock.  I ink blended a hint of pale pink using Spun Sugar Distress Ink.  Near the bottom I ink blended with a hint of Antique Linen.  Next I found a scrap of white cardstock in my vast collection of scraps (don't even ask) and I scored it to give the look of wainscoting and I glued a strip of cardstock across the top and bottom then applied the whole thing to the card base.


On Strathmore Bristol Smooth watercolour cardstock I stamped all of the many images, I die cut them and watercolour painted them using my Kuretake Zigs.  I tested out a few scene arrangements before settling on the one you see and all the adorable characters were adhered using varying amounts of Scotch Foam Tape to build depth.

Finally I stamped the sentiment from the new 'Good Reads' which is also part of the new release and finished by adding a few crystal clear sequins by Pretty Pink Posh.


Look at that little doggy on top of the pile of books, it looks like it is wearing a bad toupee ..... I could just die, so cute!  Love the potential of these stamps sets in combination with each other because it sets you up perfectly to give the card with the gift of a book!

Thank you for swinging by the blog today.

Nicky x

Tuesday, June 12, 2018

Creativity Is Contagious

Hi!  Here's a look at a part of the new release from Mama Elephant who I am Guest Designing for right now.  I'm sure like me, many of you have friends and acquaintances in the card making world or friends who crochet up a storm etc.  Well here's the stamp for them, or at least here's the stamp you'll want so that you can create and encourage them, otherwise known as 'enabling'.


I wanted the sentiment to shine on this card and kept the design simple but pretty.  I die cut a stitched panel from soft pink cardstock.  I used my Embossing Buddy to prep the panel then stamped the sentiment using my Misti with Versamark Ink.  I stamped it 2 or 3 times to get a strong impression.  I then heat embossed it with Ultra Fine White Embossing Powder.


The panel was then adhered to the card base which is white but it has a layer of white craft foam sandwiched in between which lifts the panel up and makes it feel beautifully substantial when handled and truth be told, it handles the rigours of the mail system so much better when you do this (better than putting dimensional foam tape back there!

The next step was to hand stamp the beautiful bunnies and their Dandelions from the new Dandelion Wishes stamp and die set onto Strathmore Bristol Smooth using Archival Ink which is waterproof, then watercolour painting them using my Kuretake Zigs.  I die cut them and applied them with foam tape.


The final touch was to add dots of Uniball Signo White pen over the dandelion heads, to make them look fluffy and altogether softer, sort of perfectly imperfect if you will and then a few pearl sequins add that final but necessary accent.


Thanks for coming along to read how this card was made, I'd love to hear from you if you'd like to leave me a comment!

Nicky x

Monday, June 11, 2018

Dandelion Wishes

Hello everybody, I've got a pretty special 3D pop up card for you today - I went to town on this one!  Mama Elephant have me onboard Guest Designing for a while and this month they are including a 3D Pop-Up Card die with their June release which makes pop up cards that bit quicker to make - they've done the calculating for you!


My card is constructed of Neenah Solar White 110lb cardstock which I nearly always use for my regular card bases!  I die cut everything twice to provide me with anything I could want.  I just followed my heart as I created, there was no big plan.  The panels for the flaps were ink blended using Distress Ink in Cracked Pistachio.  I also ink blended in similar fashion the inside of what would be the box.  This makes the card look more finished because remember the recipient will peer inside too!


The upper back panel of course was ink blended in Tumbled Glass Distress Ink.  The die includes the picket fence (yay!), a cloud and a speech bubble as well as choices for different hills (grassy or otherwise), so this die is a great investment because you can use it year round or just use parts of it for scene building on any card you create.  I chose grassy hills and ink blended them also.


On my favourite Strathmore Bristol Smooth cardstock I stamped out all the images I wanted for this card using waterproof Archival Ink.  I die cut them and watercolour painted them using my Kuretake Zigs.  I then set about applying them into the scene carefully checking heights and viewing it from different angles to make sure it was interesting from every vantage point and nothing was obscuring anything else.  For height, the cloud and the mouse floating on a puff of wind hanging onto a little dandelion, I used a tiny strip of acetate to get them where they are.  It is essential that you check your heights as you go and keep folding the pop up box card flat to determine before you glue, whether it will still fit in your A2 envelope!


I highlighted a few areas with my Uniball Signo White pen including applying dots to the dandelion heads to break them up a little, making them look fluffy and soft .... as they should be.  The sentiment was stamped and applied with a little strip of Scotch foam tape ...... and there you have it!  Like I said at the beginning, I went to town on this one and it was worth it I reckon!


Until the next time .....

Nicky x

Tuesday, June 5, 2018

School Friends - Pretty Pink Posh

Hi!  As the kids are wrapping up the school year perhaps a card made using the new School Friends by Pretty Pink Posh would be a cute surprise for your child.  Would also make a great card for back to school or during the school year.  New release available June 7th - you'll love it!


For this card I ink blended a panel of Bristol Smooth using Distress Inks in Tumbled Glass and Antique Linen, I distressed it with water splashes that I blotted up after about 30 seconds and then die cut it to give the faux stitched edge.  I took some white 110lb cardstock and cut two narrow strips and one wider strip.  I scored the wider strip at regular intervals to give the look of wainscoting and glued the narrow strips to the top and bottom and then glued this panel to the background panel.  Wainscotting affect didn't photograph clearly but it is there!


I stamped the sentiment onto a piece of cardstock in Archival Ink in a brown shade called Potting Soil instead of my usual black.  I die cut the upper edge to match with the main panel and adhered it with glue at the top and at the bottom it lifts up a little on Scotch Foam Tape.


Using once again the Archival Ink in Potting Soil I stamped all of my images onto Bristol Smooth.  I watercolour painted everything using Kuretake Zigs and highlighted areas with a Uniball Signo White Gel Pen.  They were all die cut and adhered into the scene on varying amounts of foam tape to build depth.


To finish out the scene I die cut the spectacles from the stamp set 6 times and for each pair of spectacles 3 were glued together in a dimensional stack and I painted the top layer the colour of choice.  I just love their oversized and funny appearance - very Elton John!!!   Finally I grabbed several Sparkling Clear Sequins in different sizes and glued them into position using Ranger Multi Medium Matte to add a final twinkle.

I hope you enjoyed the card, stay tuned for more new goodies from Pretty Pink Posh in the coming days!

Nicky x

Monday, June 4, 2018

Springtime - Hello Bluebird Stamps

Hello!  Thanks for swinging by the blog today to read about this card made using Springtime by Hello Bluebird Stamps.


To make this card I created two A2 panels of Bristol Smooth cardstock.  I ink blended each of them to match one another using Distress Ink in Cracked Pistachio and blending it to a fade.  I distressed the panels with water splashes that were blotted up after a few seconds.  I adhered one panel to the card base and the second panel was die cut using the Gallery Frame Die #1 I only used the outer portion for this project and this was adhered to the other panel using dimensional foam tape.


The next step was to stamp out my images using Ranger Archival Ink in Jet Black onto more Bristol Smooth.  I die cut them and then watercolour painted using Kuretake Zigs and highlighted some points with a Uniball Signo White Gel Pen.   I had some negative offcuts from die cutting the frame and I used a piece that had some of the minty green on it to stamp the Happy Birthday sentiment and applied this to the top of the scene with foam tape and decided on a layout for the animals and flowers and adhered them the same way.


At this point I considered the finishing touches.  For this card I decided to use a toning Kuretake Zig and add by hand some texture in the form of subtle strokes to give a look of grass under the feet of the lamb and frog and then I grabbed Liquid Pearls in Mint Green and dotted in some dimensional 'blobs', setting the card aside for those to dry completely for a couple of hours.

Hope you enjoyed the card, see you next time and feel free to ask any questions you may have.

Nicky x

Friday, June 1, 2018

Just Sayin' - Hello Bluebird

Hello!  Today I'm back with another card using all products by Hello Bluebird Stamps.  Specifically the card uses Just Sayin' which was one of the stamp sets from the lovely May release.


This sweet trio of furry friends each hold a sign and together with all the wonderful mix and match words included in the set you can spell out all number of messages for your project.


My card started with a panel of A2 cardstock which I stamped using the Cozy Plaid Background Stamp ......instant background!!!  I trimmed the panel by 1/8th of an inch.  Over this I layered a grassy panel that was die cut using the Grassy Knoll Die which I ink blended with Cracked Pistachio Distress Ink and used one of the little tuft of grass stamps from Deer Friend to create a little grassy interest.


On Strathmore Bristol Smooth watercolour cardstock I stamped the three little characters and their balloons using Ranger Archival Ink in black.  I delicately watercolour painted everything using my Kuretake Zigs and highlighted some points with a Uniball Signo White gel pen.  I chose my words from the selection and stamped them.  Everything was applied to the scene using Scotch Foam tape with a single layer behind everything except for the little bear who is front and centre who is on a double layer ..... because I adore him and his sweet sincere face!


I adhered the now finished panel to an A2 white cardstock base with a layer of white craft foam in between to lift it up and cards survive the mail with this layer of 'squish'.  The final touch was the application of a scattering of crystal clear sequins.

Thank you for stopping by the blog today, it has been my pleasure to share this card making tutorial with you.  Happy crafting and see you next time!

Nicky x